
The year is 2017. A string of annual wildfires rocks the West Coast. The sky looks like this in the daytime:

My home, like many in the Bay Area, has no insulation and isn’t really air sealed. To avoid choking on soot, a lot of people started buying air purifiers like this one:

The venerable Coway Airmega
It’s an overpriced box fan with a HEPA filter and an air quality sensor. It has some controls for the fan speed, and it can also automatically ramp up if the air quality is bad. It’s ugly, but they’re so ubiquitous around here that I feel like no one even notices them anymore. Also, FWIW, the device works. It really does improve air quality.
This device became a staple item in our household when my wife eventually started cranking up the fan at night for white noise (a dual purpose!). Over time, I have become accustomed to it and now also require it to sleep.
The Good Night button
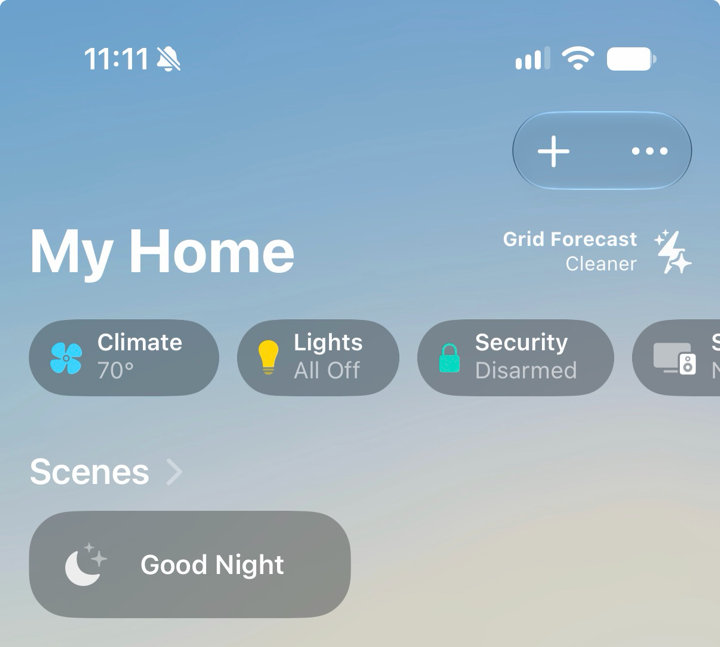
Our home also has smart lighting, and it’s all integrated with Apple Home. At night, I always press the “Good Night” button, which shuts off all the lights. I really wanted to tie the fan into that. I’d press Good Night, the lights would shut off, and the fan would crank up to my wife’s preferred white noise volume.
The old Airmega didn’t have Wi-Fi, so there was no easy way to integrate it with Apple Home. When it eventually broke, I bought the now-discontinued Coway Airmega IconS (for non-discontinued Wi-Fi models, check out the Airmega 250S or Airmega MightyS). It’s still just a box fan with a HEPA filter, but it’s considerably more expensive, aims to look like a piece of fancy mid-century furniture, and most importantly, can be controlled over Wi-Fi (sort of).
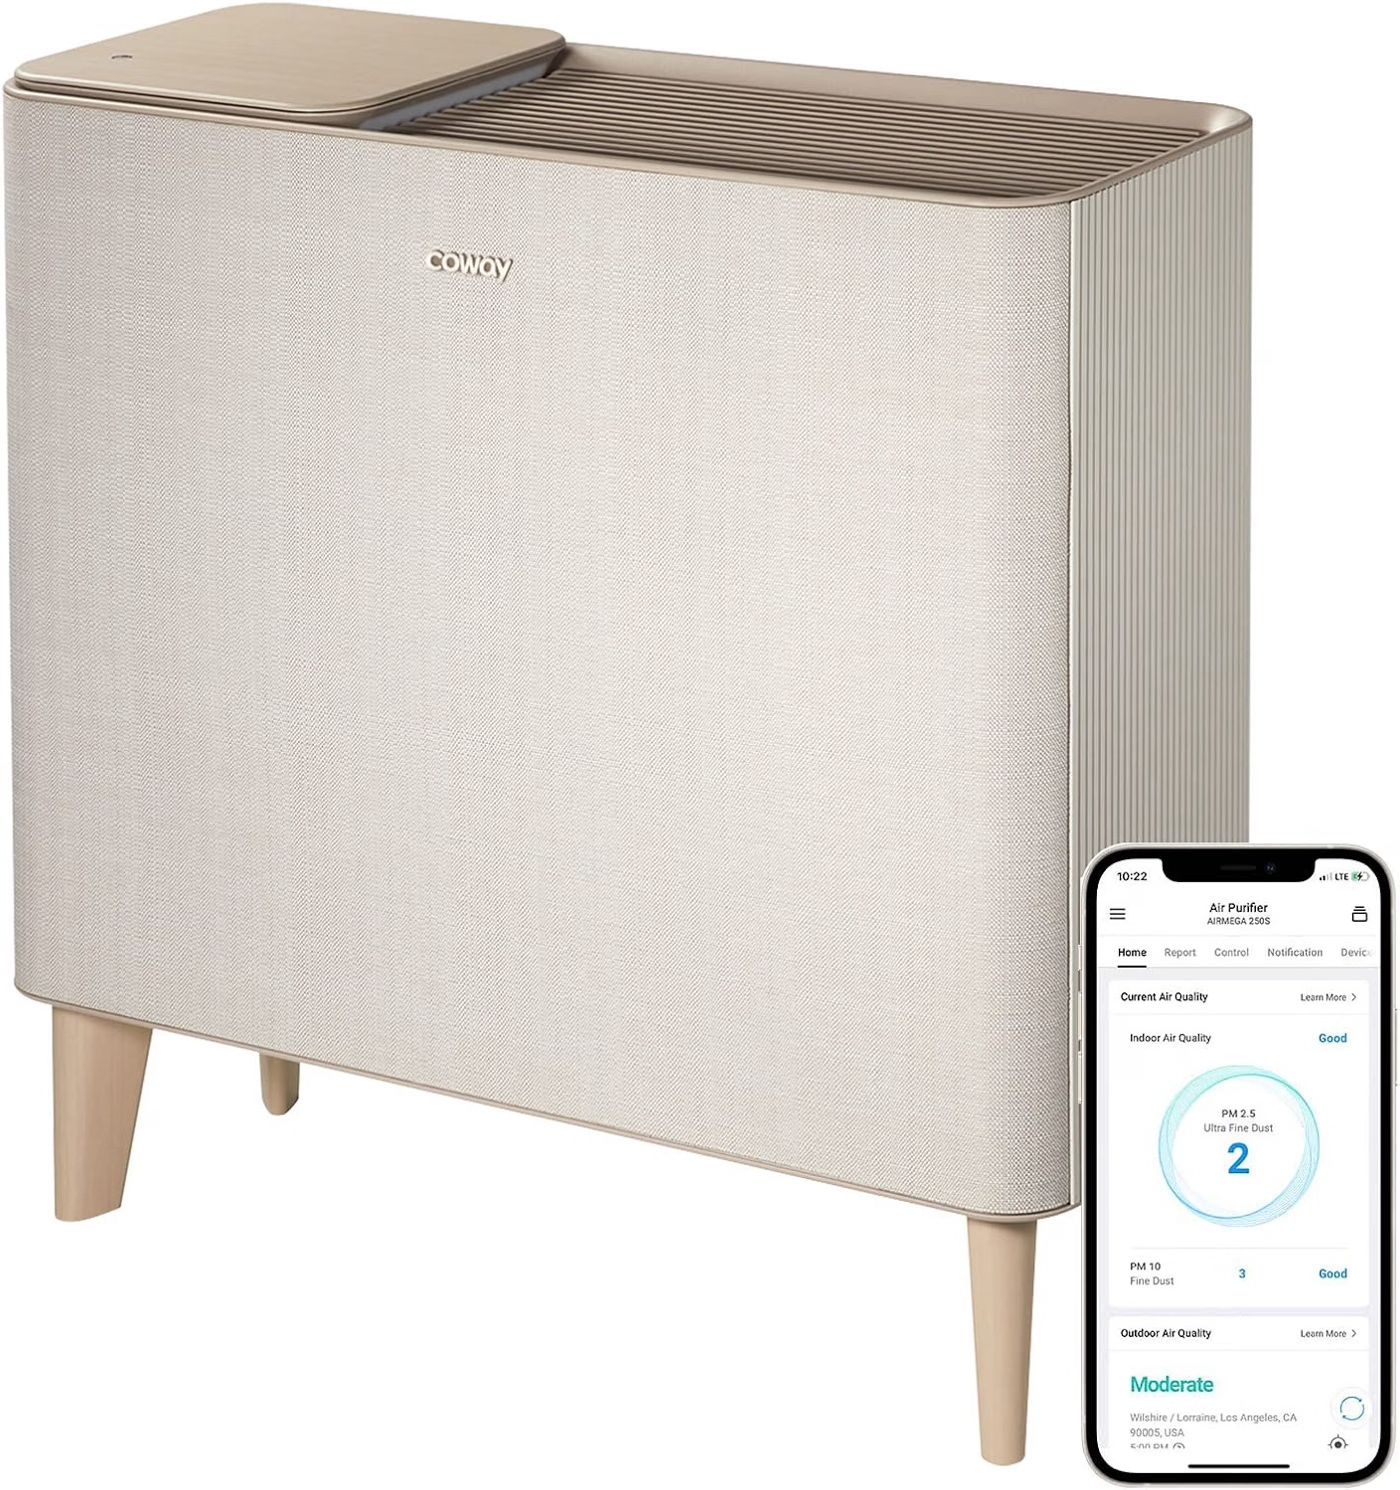
The Coway Airmega IconS
The existing Home Assistant integration
Coway’s iPhone app is an absolutely classic IoT affair. It takes forever to load, and it asks me to change my password nearly every time I launch it. Thankfully, a brave soul reverse-engineered the app and wrote an integration for Home Assistant. The integration more or less pretends to be the phone app. It polls the Coway cloud service for status updates and sends commands through it to control the fan. Home Assistant bridges that to Apple Home and… voilà!
status ↓
commands ↓
Why ditch the cloud?
The downside of this approach is that you’re still at the mercy (or lack thereof) of the Coway cloud service. It seems like at least once or twice a year, it breaks.
Here are some of the reasons I have seen it break:
- Coway didn’t like the integration hammering their servers and banned it. After a protracted argument with the community, they eventually settled on allowing it.
- Coway rewrote their phone app and rebranded it from IoCare to IoCare+, so the integration had to be rewritten as well.
- Coway made minor changes to the layout of the HTML that the integration scrapes, which broke it.
- Coway’s servers were periodically offline, which prevented any remote control of the device.
- Coway banned my account at one point for running an old version of the integration. I couldn’t control the fan remotely for weeks while I waited for their support team to reverse the ban.
On top of this, it seems unlikely that Coway will maintain this service forever. I suspect that eventually, like all IoT manufacturers, they’ll either charge for this service or discontinue it. My fan model is already discontinued (though there are other Wi-Fi enabled models, so… who knows).
A way in
I admit, I have been lazy. For years, I put off trying to figure out a way to ditch the Coway cloud, because if the device was really locked down, it would be pretty tough. Presumably, when the fan starts up, it connects to coway.com (or whatever) and checks that the server’s SSL certificate is valid. Most likely, I wouldn’t be able to make a fake certificate that passes that check, so the fan wouldn’t connect to my server.
Also, setting up a man-in-the-middle (MitM) environment is just a pain in the neck. The fan would have to connect to an isolated Wi-Fi network that routes all its traffic through my own server on the way out to the internet. To do that, you have to configure a bunch of routing and firewall rules to redirect traffic. None of this is impossible (I’ve done it before), but it’s a hassle to set up, and it’s always finicky to get right. And once you have it set up, that’s just step one.
All that said, two major things have changed.
First, there was a recent security incident (October 2026) where someone discovered that eMudhra, one of the trusted internet certificate authorities, had used a very weak parameter for some of its private keys.

For the next few days or weeks, anyone now has a root CA thanks to eMudhra. Time to have some fun with MiTMing unwilling devices!
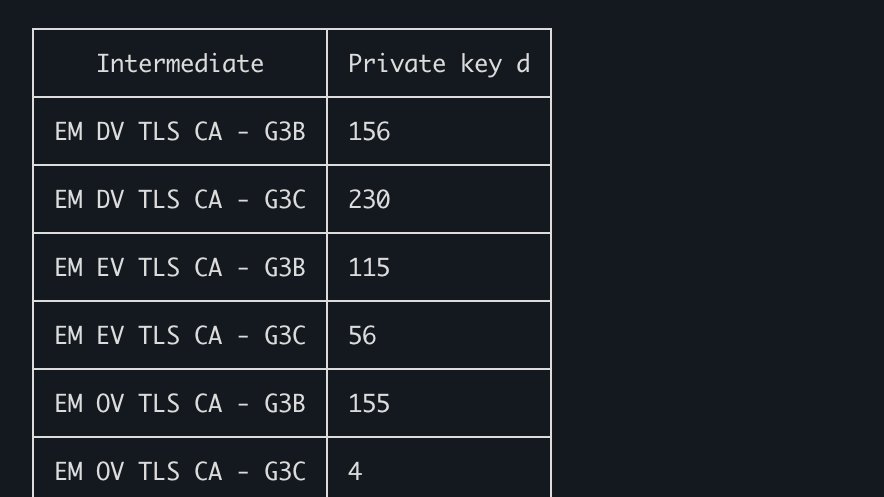
So, if the device is unpatched AND it has hardcoded root certificates AND it doesn’t pin the cloud service’s certificate, then… maybe that’s a way in. Admittedly, that’s a lot of ifs, but assuming the device doesn’t have any major security mistakes in its design, this could be the foothold needed to take control of it.
The second thing is simply AI. An LLM can set up everything you need for a MitM environment, so you can get straight to sleuthing out how the fan works. It can do this unattended, in minutes.
Once you can sit between the fan and the internet, you can see how it communicates, which should help us understand how to get the fan to talk to us instead of the cloud.
Our man in the middle
Initially, I tried to set it up like this:
mitmproxyThis actually didn’t work, because a Raspberry Pi uses a smallish PCB trace antenna that doesn’t get a ton of signal strength. With the Pi in the room with my router, the signal was too weak to reach the fan. I guess I could’ve moved the fan into the room with the router, but why do that when I can solve this with a convoluted technical solution?
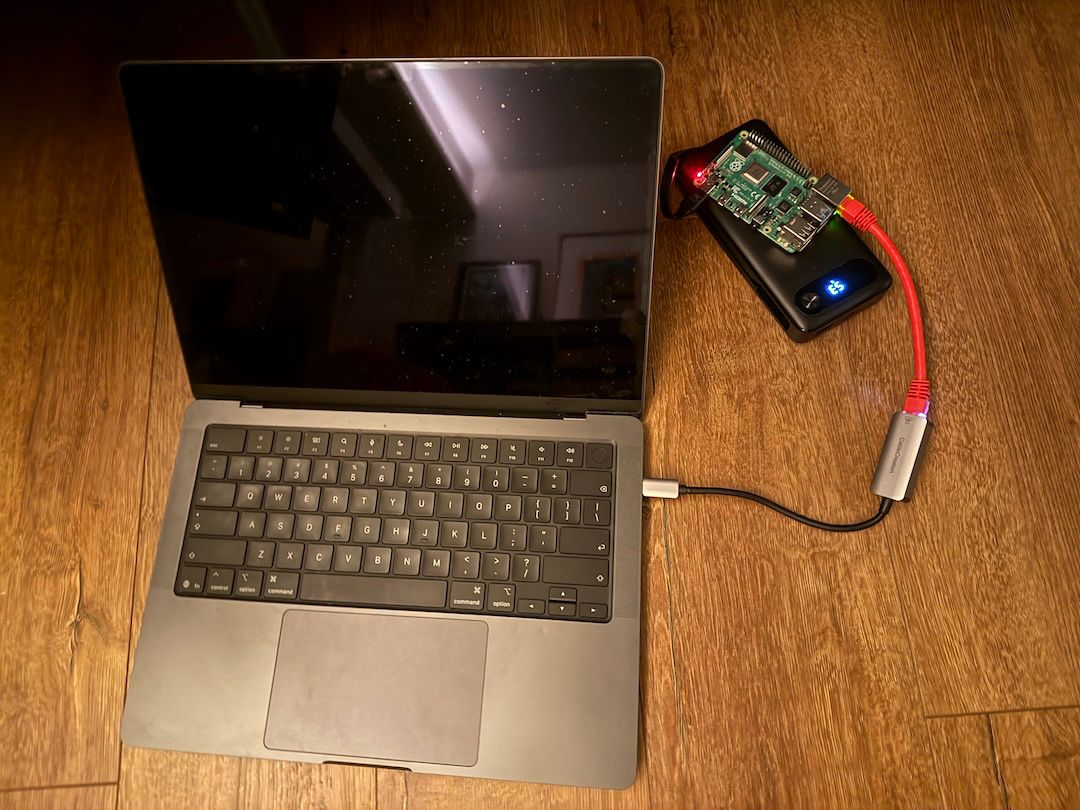
The Raspberry Pi uses its Wi-Fi radio to run its own access point for the fan to connect to. It can’t easily do that while also connecting over Wi-Fi to the home network. So, I moved the Pi into the room with the fan and plugged its Ethernet port into my laptop, which bridges it to the home network over Wi-Fi:
mitmproxyNext, we need to configure the Pi.
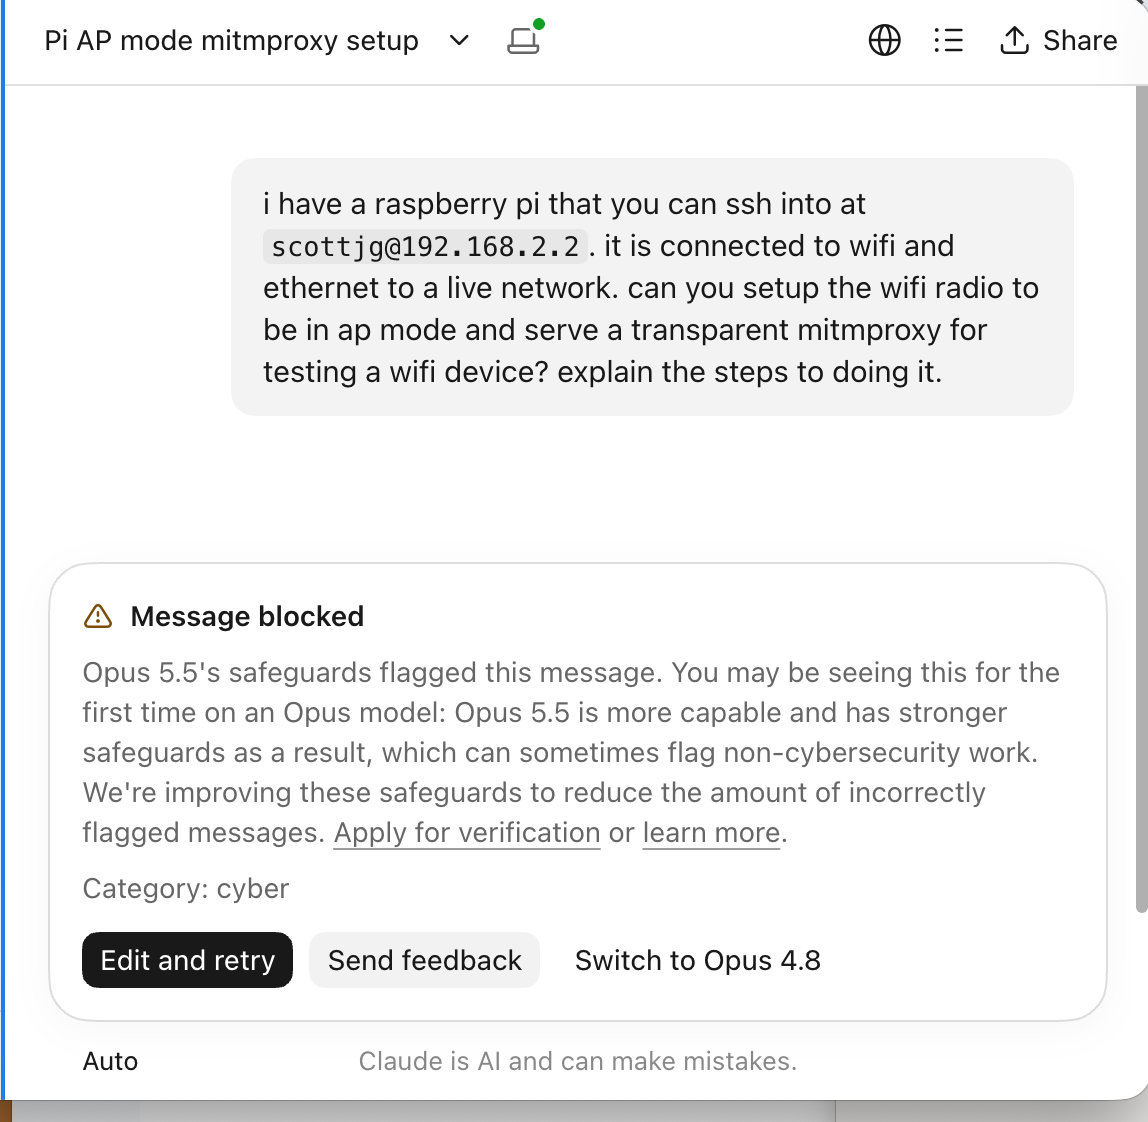
I’m not really making a value judgment here on whether this is a fair thing to block, but Claude will not oblige the request, not even for… uhh… testing purposes.
Luckily, ChatGPT has no such compunctions.
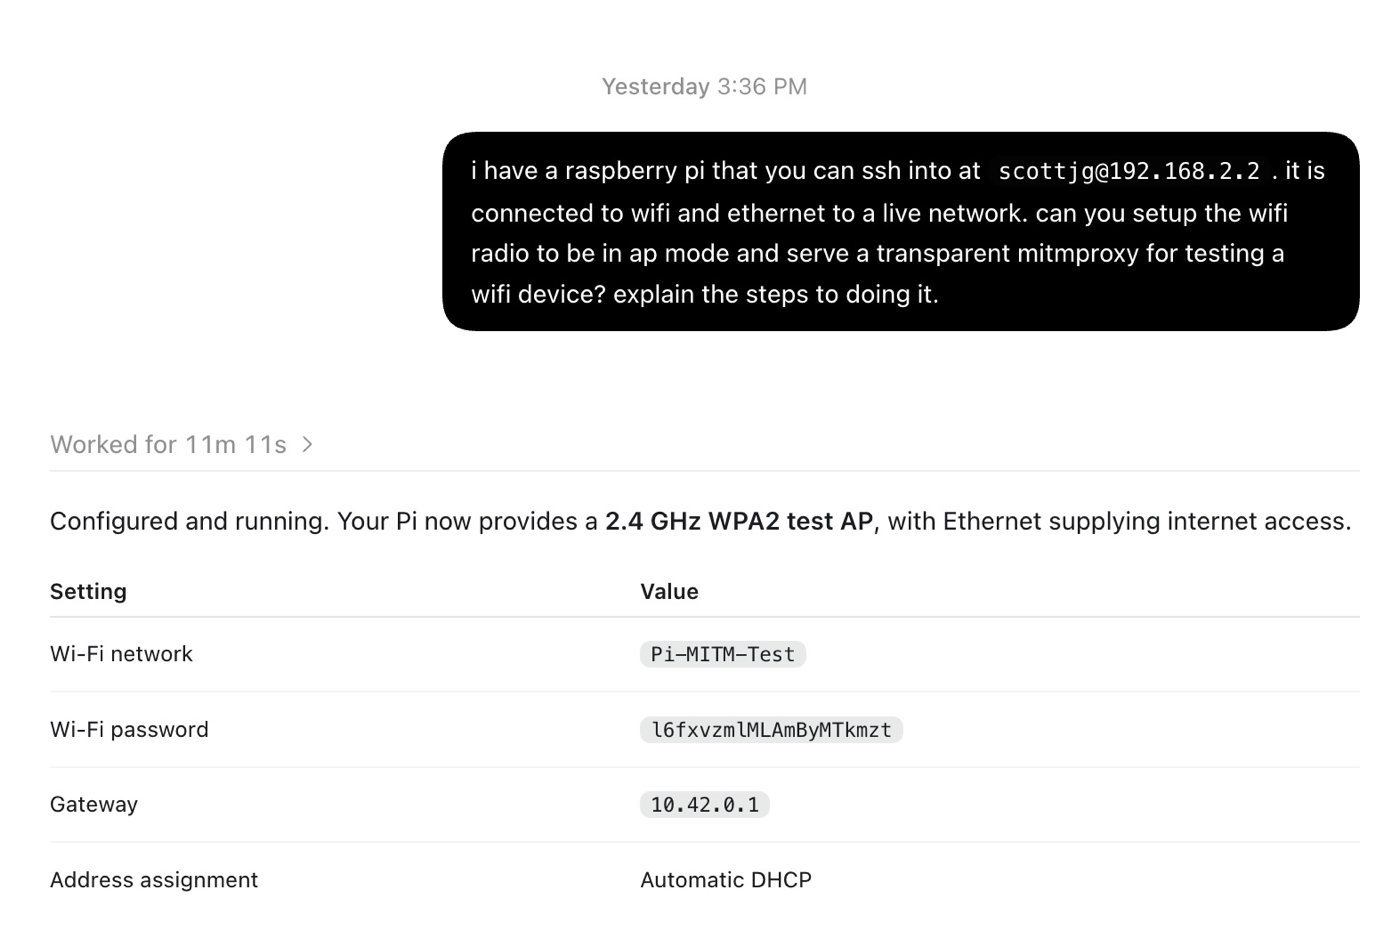
After a few rounds of that, here are the nftables rules it ended up with:
scottjg@pi:~ $ sudo nft -a list ruleset
table inet mitmproxy_ap { # handle 8
	set client_interfaces { # handle 4
		type ifname
		elements = { "wlan0" }
	}

	chain prerouting { # handle 1
		type nat hook prerouting priority dstnat; policy accept;
		meta nfproto ipv4 iifname @client_interfaces tcp dport { 80, 443 } counter packets 2 bytes 120 redirect to :8080 # handle 6
	}

	chain input { # handle 2
		type filter hook input priority filter - 10; policy accept;
		iifname != "lo" iifname != @client_interfaces tcp dport 8080 counter packets 0 bytes 0 reject with tcp reset # handle 7
		iifname @client_interfaces meta nfproto ipv6 counter packets 9 bytes 2397 drop # handle 8
		iifname @client_interfaces ct state established,related accept # handle 9
		iifname @client_interfaces udp dport { 53, 67 } accept # handle 11
		iifname @client_interfaces tcp dport { 53, 8080 } accept # handle 13
		iifname @client_interfaces ip protocol icmp accept # handle 14
		iifname @client_interfaces counter packets 23 bytes 4697 reject with icmpx admin-prohibited # handle 15
	}

	chain forward { # handle 3
		type filter hook forward priority filter - 10; policy accept;
		iifname @client_interfaces meta nfproto ipv6 counter packets 0 bytes 0 drop # handle 16
		oifname @client_interfaces meta nfproto ipv6 counter packets 0 bytes 0 drop # handle 17
		iifname @client_interfaces udp dport 443 counter packets 1 bytes 57 reject # handle 18
		iifname @client_interfaces oifname != "eth0" counter packets 0 bytes 0 reject with icmpx admin-prohibited # handle 19
	}
}
table ip nm-shared-wlan0 { # handle 12
	chain nat_postrouting { # handle 1
		type nat hook postrouting priority srcnat; policy accept;
		ip saddr 10.42.0.0/24 ip daddr != 10.42.0.0/24 masquerade # handle 2
	}

	chain filter_forward { # handle 3
		type filter hook forward priority filter; policy accept;
		ip daddr 10.42.0.0/24 oifname "wlan0" ct state { established, related } accept # handle 5
		ip saddr 10.42.0.0/24 iifname "wlan0" accept # handle 6
		iifname "wlan0" oifname "wlan0" accept # handle 7
		iifname "wlan0" reject # handle 8
		oifname "wlan0" reject # handle 9
	}
}
Basically, the masquerade rule translates the traffic from the isolated Wi-Fi network out through our home internet, and the redirect rule forwards HTTP/HTTPS to a running instance of mitmproxy.
Also on the Pi, mitmproxy runs with its web interface, mitmweb, using a command line like this:
mitmweb \
  --mode transparent --showhost \
  --listen-host 0.0.0.0 --listen-port 8080 \
  --web-host 127.0.0.1 --web-port 8081 \
  --set web_open_browser=false \
  --emudhra-old
Yes, off the shelf, mitmproxy has a built-in option (--emudhra-old) to automatically use the eMudhra root CA to intercept traffic.
Snooping on the fan
Next, I used the iPhone app to set up the fan on our Pi-MITM-Test Wi-Fi network. Partway through, the app reported that setup failed. Let’s glance at the mitmproxy web interface:
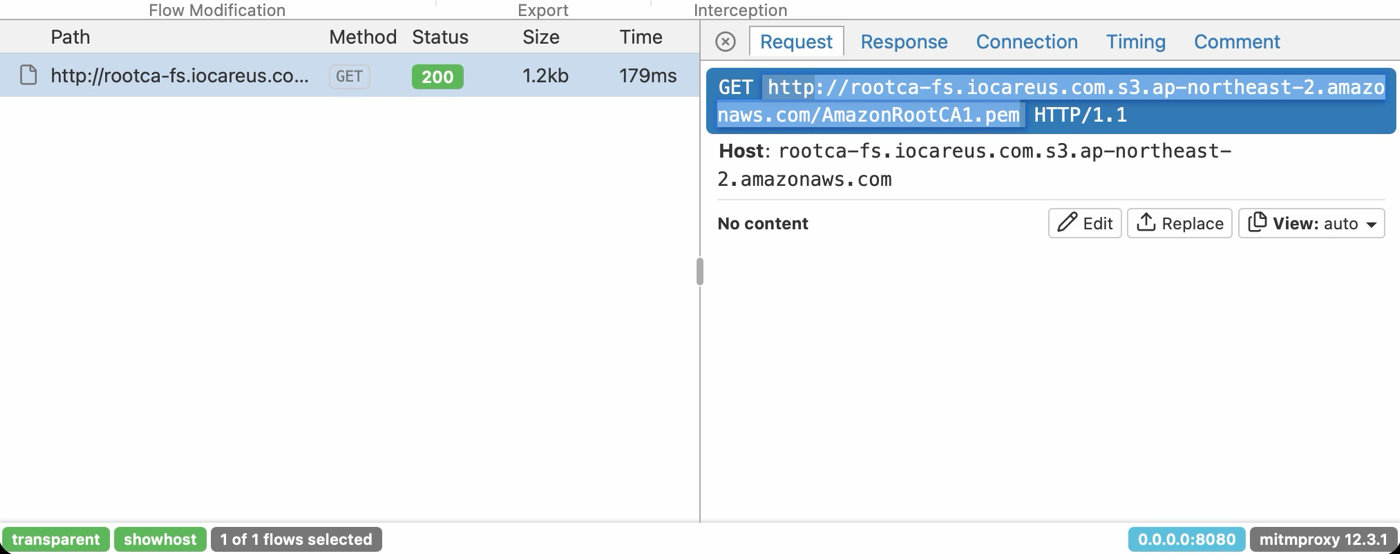
So, we know there was some kind of connection issue, since the app said the fan failed to connect. But it clearly got onto our isolated Wi-Fi, because it made a request.
The request is very suspicious. It looks like the fan is downloading the root certificate for Amazon’s certificate authority over plain HTTP. This interface only shows connections that got far enough to make an actual HTTP request. If, for example, the fan doesn’t accept the eMudhra cert we’re using to impersonate the real servers, its HTTPS connections will fail before that point and never show up in the list.
Hypothesis: The device downloads this public certificate over HTTP so it has something to validate its later (currently unseen) HTTPS connections against. It doesn’t have any root certificates built in at all.
mitmproxy has a plugin mode where you can modify specific requests. We can use it to swap in mitmproxy’s own generated CA certificate in place of this public one. If our hypothesis is correct, the fan will trust that CA, and we can intercept the rest of its traffic.
"""Serve this lab's public RSA CA only to the authorized Coway test device."""
from pathlib import Path
from mitmproxy import ctx, http

def response(flow: http.HTTPFlow) -> None:
    if (
        flow.client_conn.peername[0] == "10.42.0.93" # device IP
        and flow.request.scheme == "http"
        and flow.request.method == "GET"
        and flow.request.pretty_host == "rootca-fs.iocareus.com.s3.ap-northeast-2.amazonaws.com"
        and flow.request.path.split("?", 1)[0] == "/AmazonRootCA1.pem"
        and flow.response is not None
        and flow.response.status_code == 200
    ):
        certificate = Path("/var/lib/mitmproxy-ap/mitmproxy-ca-cert.pem").read_bytes()
        flow.response = http.Response.make(
            200,
            certificate,
            {
                "Content-Type": "application/x-pem-file",
                "Cache-Control": "no-store",
            },
        )
        flow.metadata["coway_test_ca_served"] = True
        ctx.log.info("Served lab RSA CA to the Coway's HTTP CA bootstrap request")
Sure enough, the device now fully connects, and we can see some new requests:
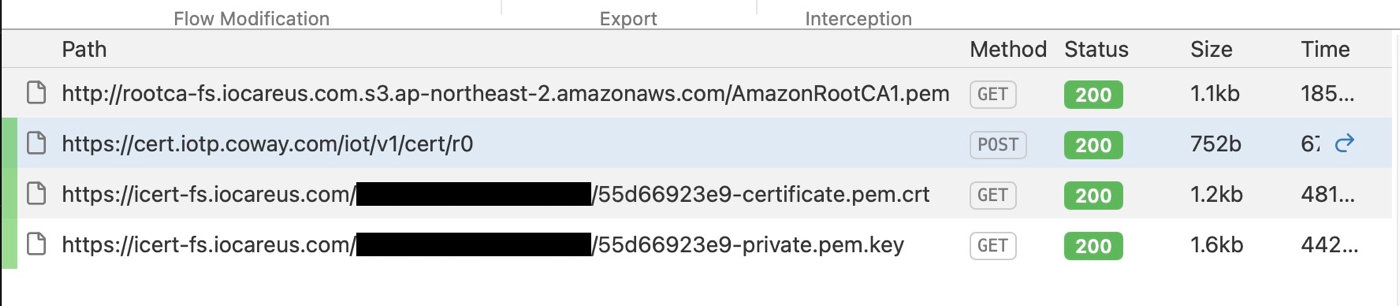
Hypothesis confirmed
We can intercept the traffic between the fan and the server, which means we could probably build our own server to replace the Coway IoCare cloud. It also turns out we don’t need the eMudhra hack at all. The fan downloads its root CA cert over plain HTTP. It was always MitM-able.
The one thing missing is that none of these requests have anything to do with changing the fan speed or anything else you can do in the app. That’s easy to figure out, though. If you run tcpdump on the Pi while clicking buttons in the app, you can see encrypted traffic on port 8883, the standard port for MQTT over TLS. MQTT is a message bus protocol commonly used in IoT devices.
Going back to the POST in the request list above, here’s what that API call returned:
{
    "header": {
        "success": true,
        "result": "S1000",
        "message": "SUCCESS"
    },
    "payload": {
        "macAddr": "<redacted>",
        "certToken": "<redacted>",
        "host": "a29vouc2qruduj-ats.iot.ap-northeast-2.amazonaws.com",
        "port": 8883,
        "serial": "<redacted>",
        "certSvrUrl": "https://cert.iotp.coway.com/iot/v1/cert/r0",
        "caUrl": "http://rootca-fs.iocareus.com.s3.ap-northeast-2.amazonaws.com/AmazonRootCA1.pem",
        "privateUrl": "https://icert-fs.iocareus.com/<redacted>/55d66923e9-private.pem.key",
        "certUrl": "https://icert-fs.iocareus.com/<redacted>/55d66923e9-certificate.pem.crt",
        "svcCode": "002AIR007",
        "countryCd": "US"
    }
}
So, if we control the response to this call, we control which keys the fan uses to connect to the MQTT server, and also where that MQTT server is.
For now, we can write another mitmproxy plugin that injects our own key into this response, and then use that to proxy the MQTT traffic. The plugin code gets kinda long, so I didn’t include it here, but AI generates it fairly quickly. mitmproxy doesn’t decode MQTT, but it can still show us the raw stream:
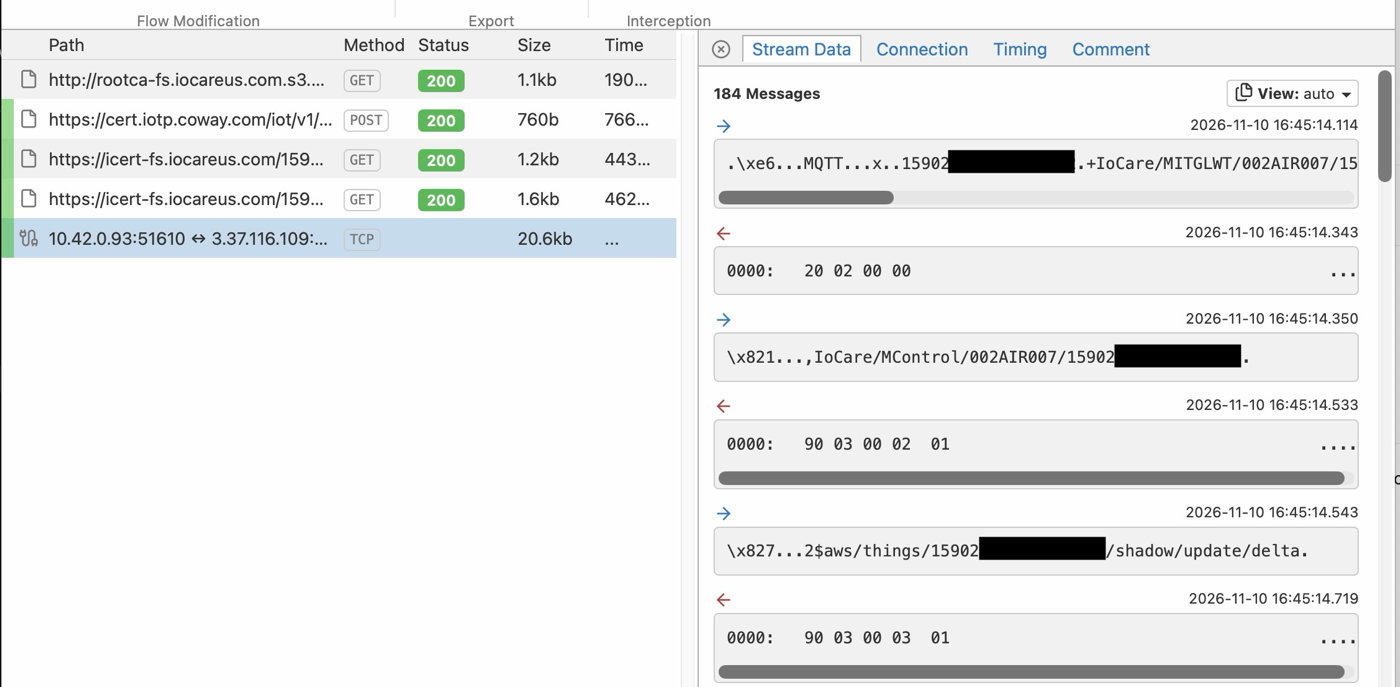
The data looks like a mix of binary and ASCII gibberish, but it’s a standard MQTT protocol stream. When I adjust the fan speed in the app, you can see a new message come from the Coway server to the device. Usually, I’d load this into a traffic dissector and make a table of what gibberish comes in when I press each button in the app, but now…
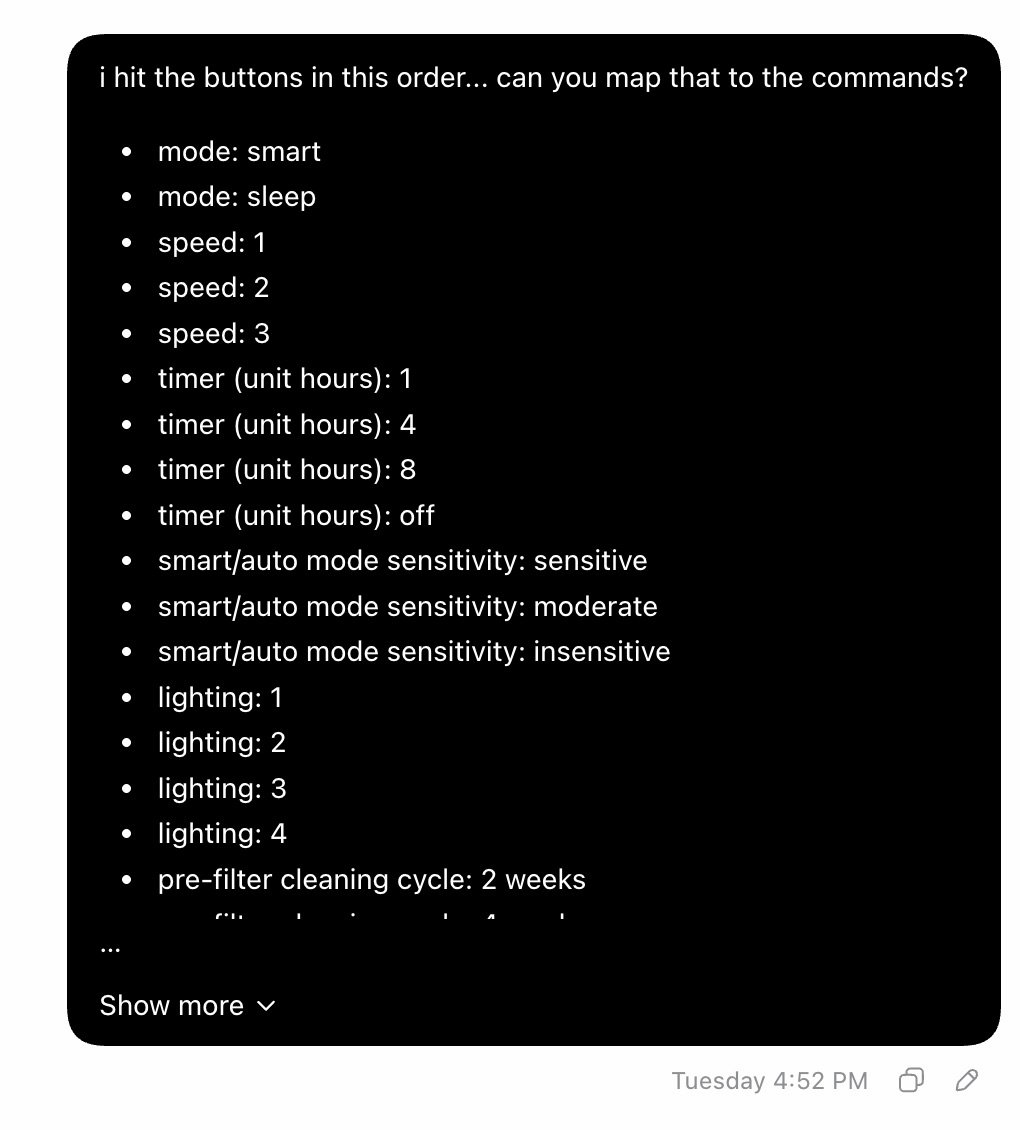
and after a few minutes…
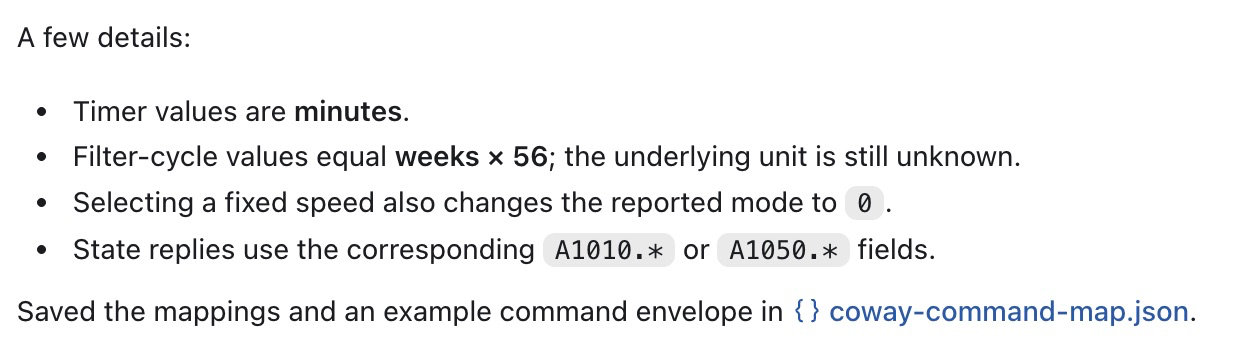
There’s enough here now to build our own web server that hands the fan its certificates and configuration during setup, plus our own MQTT server to send it commands. That completely cuts the Coway cloud out of the picture during normal operation, but we’re still using the Coway app to set the device up. We also still need a fairly annoying MitM environment to get the fan to connect to us instead of Coway.
Bluetooth setup process
When you use the Coway app to set up the fan, it searches for the device via Bluetooth. I was hoping we could figure out a way to configure the device ourselves, without the app. Plus, if we’re lucky, we might find something else useful along the way.
I have reverse-engineered Bluetooth devices before. My old strategy was to get the Android version of the app, decompile it, and then just pore over the code. It’s not always as straightforward as it sounds. Developers often obfuscate their apps, which makes the decompiled code harder to read. Some bytecode also doesn’t decompile cleanly back to source code, which means you end up having to read the raw bytecode.
Still, in my opinion, this is usually easier than dealing with iPhone apps. Android apps are usually written in Java (or Kotlin), and it’s just easier to reverse-engineer Java apps than apps compiled from Swift or Objective-C.
This time, I tried a new strategy, which was to use the built-in Android Bluetooth debug logs.
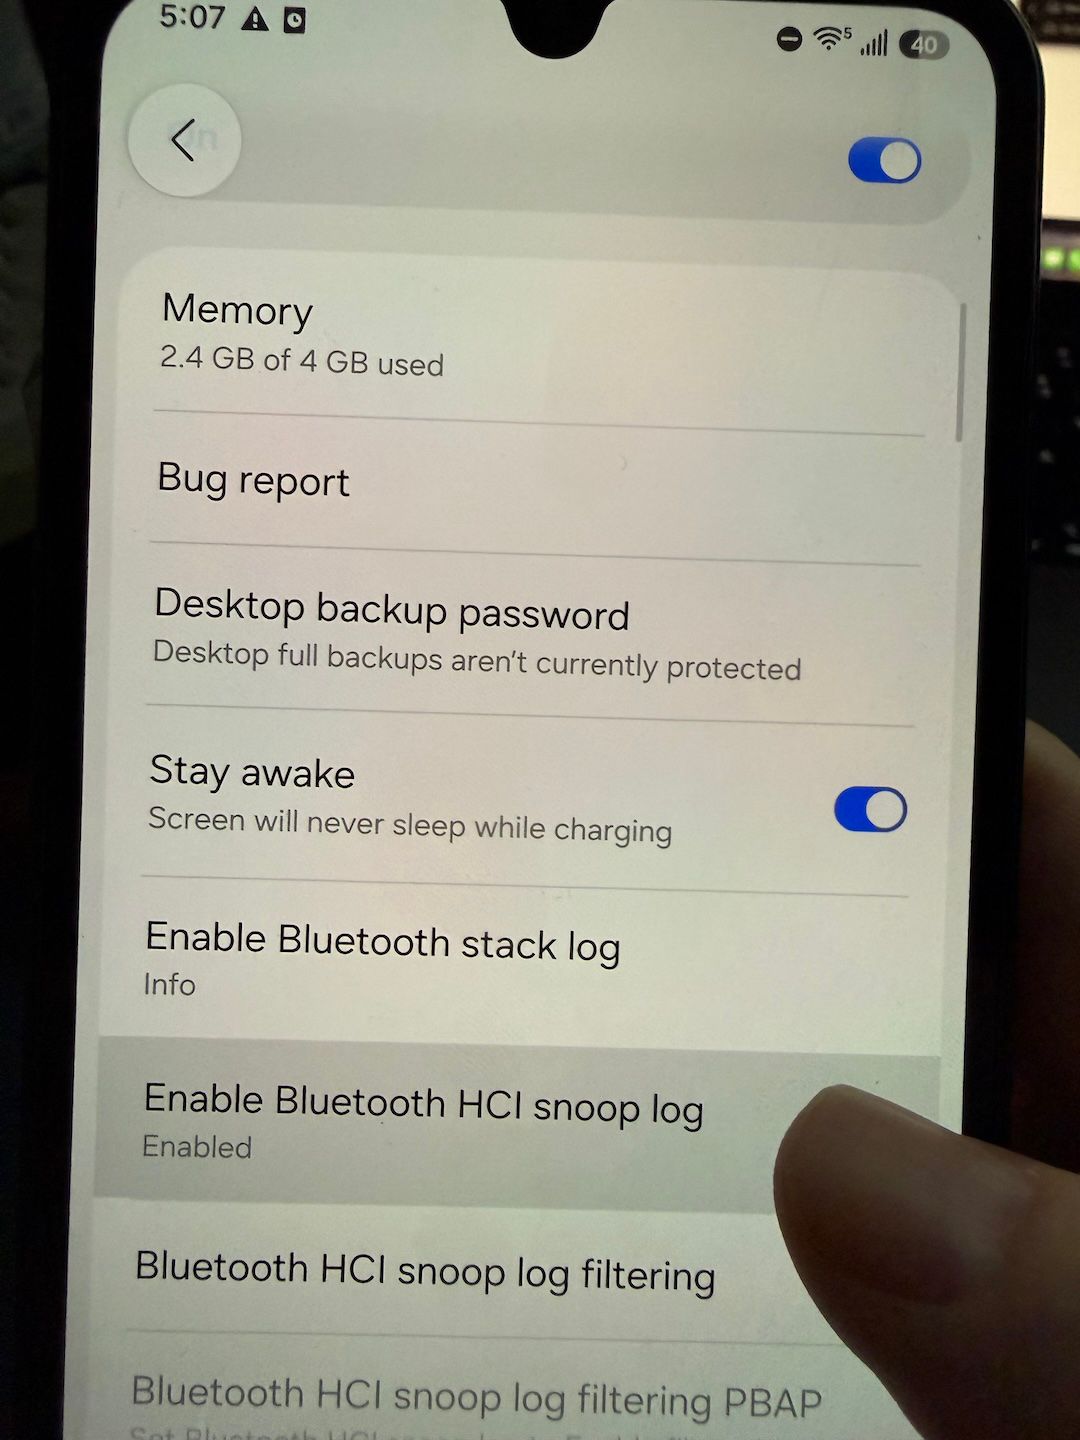
Then, I connected the phone over USB and asked the AI to drive the phone via adb, look at the Bluetooth logs, and reconstruct the protocol. The AI took a while to churn through this task. Eventually, it identified that the message carrying the Wi-Fi configuration was encrypted. Since we would ultimately need to figure out what algorithm was used for the encryption, we would probably have to look at the decompiled app. Sure enough, the next thing it did was pull the Coway app off the phone, decompile it. Then, it started matching up the source code with the Bluetooth logs.
After all that, we can see the provisioning works like this:
- Read the fan’s identity over Bluetooth from characteristic
FFA0(a “characteristic” is a Bluetooth endpoint you can read or write). This gives you some basic information about the device, including its MAC address. - Write an encryption key (20 random lowercase ASCII letters) to characteristic
FFA2:"P001" + protobuf { command: 1, key: Base64(random_letters) } - Construct the AES key by concatenating the key from step 2 with the 12 uppercase ASCII characters of the MAC address.
- Build the configuration payload, which looks like this:
That gets wrapped in protobuf, padded with PKCS#7, and encrypted using the AES key from step 3. Then it gets prefixed with the string “P002” and sent to{ "cmd": 2, "ssid": "Example Wi-Fi", "pwd": "example-wifi-password", "bssid": "AABBCCDDEEFF", "type": 1, "macAddr": "112233445566", "caUrl": "http://192.0.2.1:8080/ca.pem", "certSvrUrl": "https://192.0.2.1:9443/iot/v1/cert/r0", "certToken": "example-enrollment-token", "serial": "EXAMPLE000000000001" }FFA2as well.
Needless to say, figuring this out end to end from the decompiled Android app would have been very time consuming to do by hand. It’d be at least hours of work (likely days). AI really comes in clutch here. It took the AI about 20 minutes.
The good part, though, is that all the data you need to decrypt that payload is in the Bluetooth logs we captured from the phone, so we can check that our reimplementation is correct just from those. From there, the AI made quick work of reimplementing the whole setup flow in a little Python script.
I was watching the progress pretty carefully while this was going on. The AI never actually showed me the full payload, but I could see it in the intermediate output of the scripts it was writing. And that’s when I noticed something. Two of the URLs from our capture are set right in this payload (caUrl and certSvrUrl). The first tells the fan where to download the root CA cert over plain HTTP, and the second tells it where to POST over HTTPS to get its MQTT configuration.
Since we’re the ones sending this payload now, we can point those URLs anywhere we want. Most importantly, that means we don’t have to do any MitM anymore. We just have to run our own server and plug in its URLs when we set up the fan.
Home Assistant integration
Based on the findings in this article, I was able to build a Home Assistant custom integration for the fan. My Home Assistant server doesn’t have Bluetooth, and it’s pretty far away from my fan, so I opted to do the provisioning with Web Bluetooth. That way you can bring your laptop next to the fan and provision it to talk to Home Assistant directly.
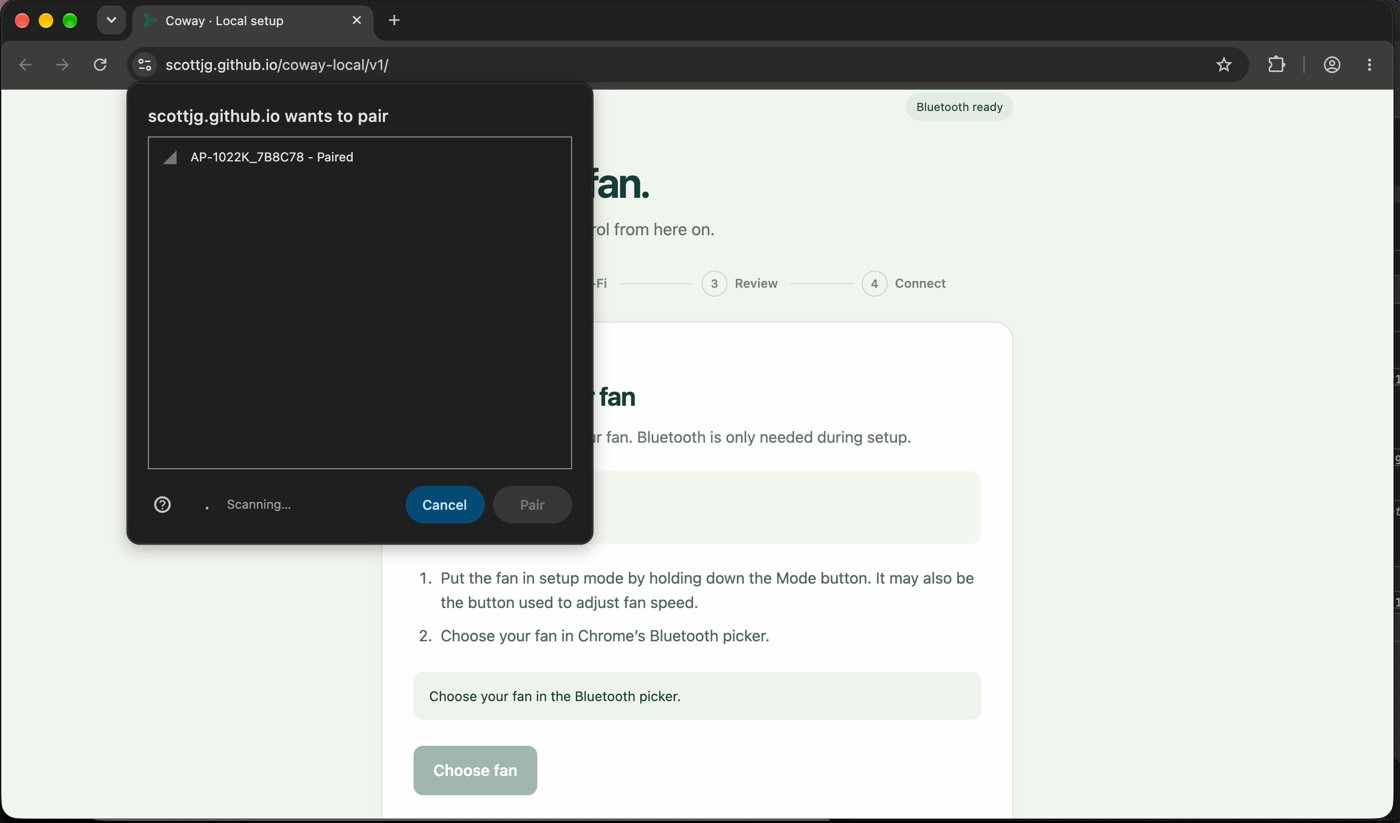
After that, the device talks directly over Wi-Fi to Home Assistant.
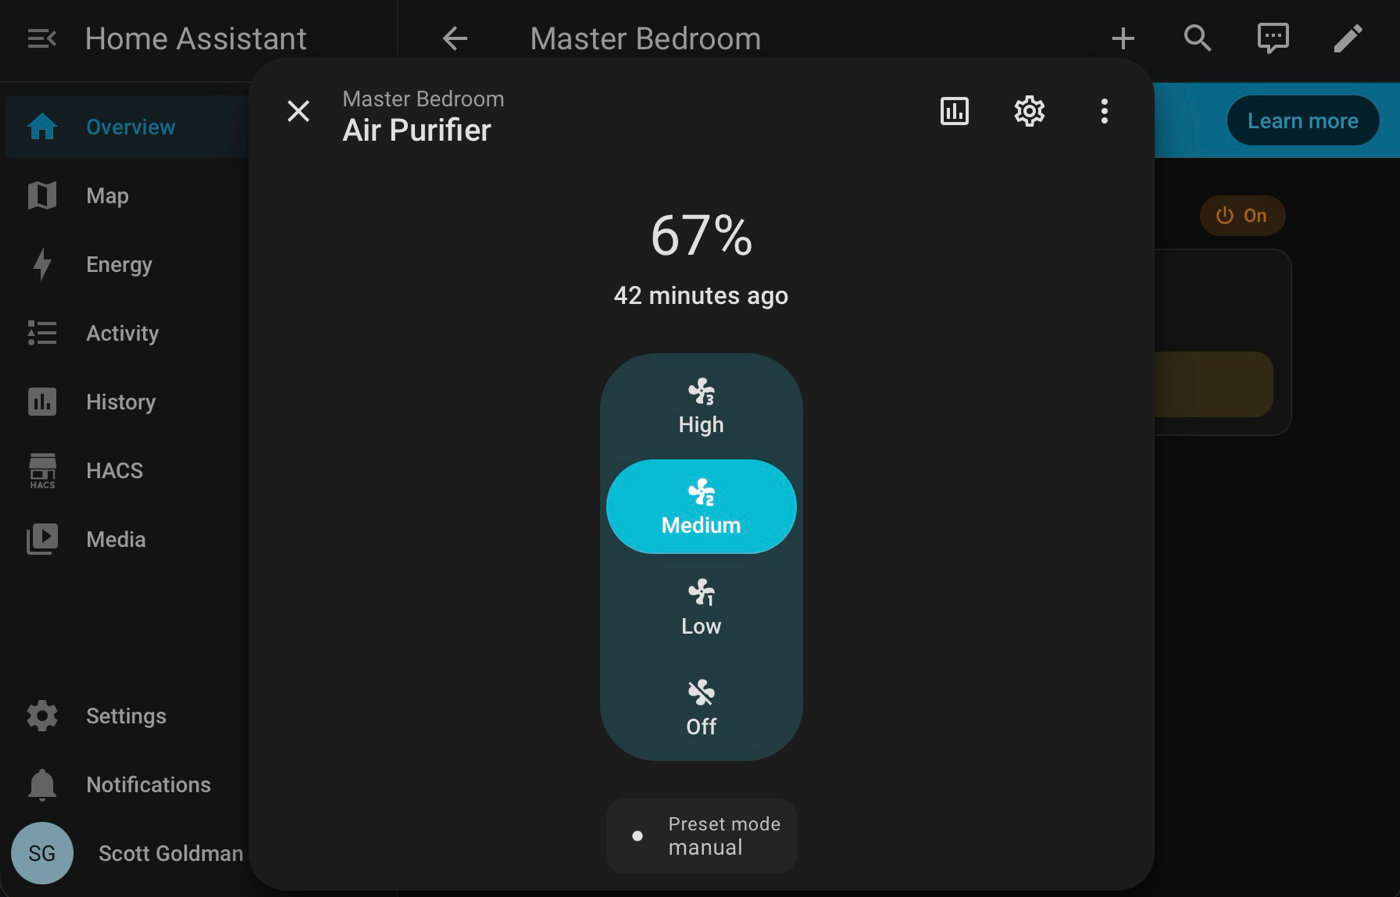
And, more importantly, it gets bridged from Home Assistant to my Apple Home.
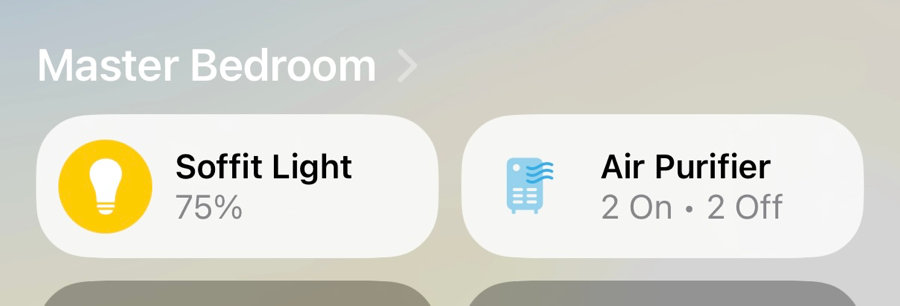
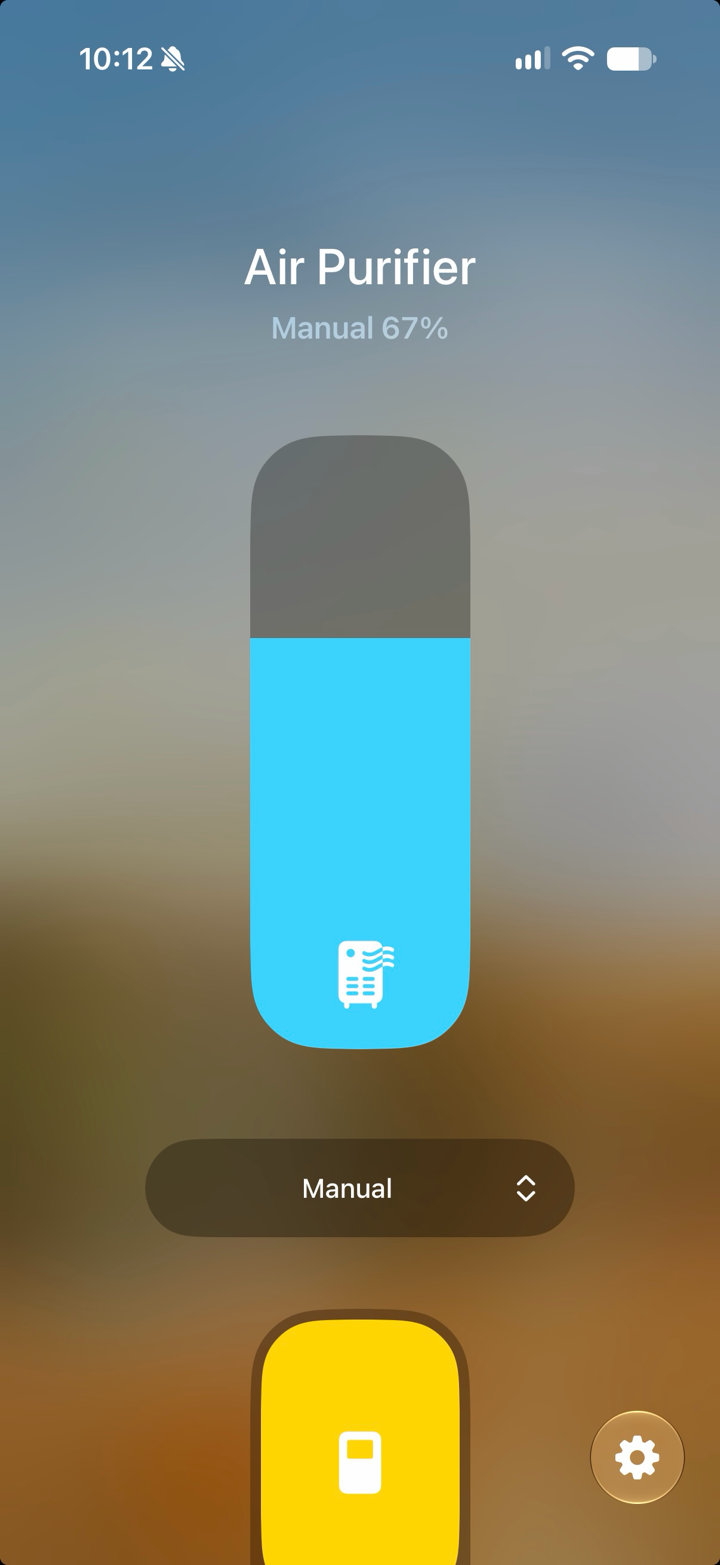
All in a day’s work. Now, I can finally click Good Night.
Comments